


Written By: Rahul Goraksha
“Git” is an version control system which allows you to track the changes at any sets of files. It also maintains records of who made the changes in the files an also we can revert yhose changes to the earlier version if required, Git makes easy to collaborate with others as we can share the changes and merge the done changes in the single version of a file.
Version Control System:
It is use to track the changes in the file or revert the specific version of file.
So, Version Control System is broadly been classified into two types such as
Centralised Version Control System
Distributed Version Control System
Centralised Version control System (CVCS): It uses central server to store all the version of the project.
Distributed Version Control System (DVCS): It allows to “clone” the entire repository of the project, which means User has entire copy of repository including all branches as well as past version of the same.
Why we prefer Distributed Version Control System over Centralised Version Control System ?
Better Collaboration: As the User has the full copy of the repository so they need not required to constantly communicate with an central server to commit new changes or to see other changes.
Improved Speed: Due to the Copy of repository, User can commit the changes an can perform the version control action at the faster rate.
Greater Flexibility: User can commit the changes and push the changes to remote server when they have access to internet connectivity.
Enhanced Security: As it is maintaining the protocol of token key generation at every interval for the specified User to access due to which the data security is been enhanced.
Now you might be having some misconceptions like what is exact difference between Git, GitHub, GitLab, BitBucket
Git is an version control system which track the changes an help to work collaborative in an organisation whereas GitHub, GitBucket, BitBucket are the platforms which provide the services of Git to the various organisations all over the globe with some or another kind of an enhanced feature with an security protocols.
#Hands-On-Practise
Task 1: Create a new repository on GitHub and clone it to your local machine
Solution
Initially we will login into our git hub profile than by clicking on “+” extension will proceed to an “New repository”
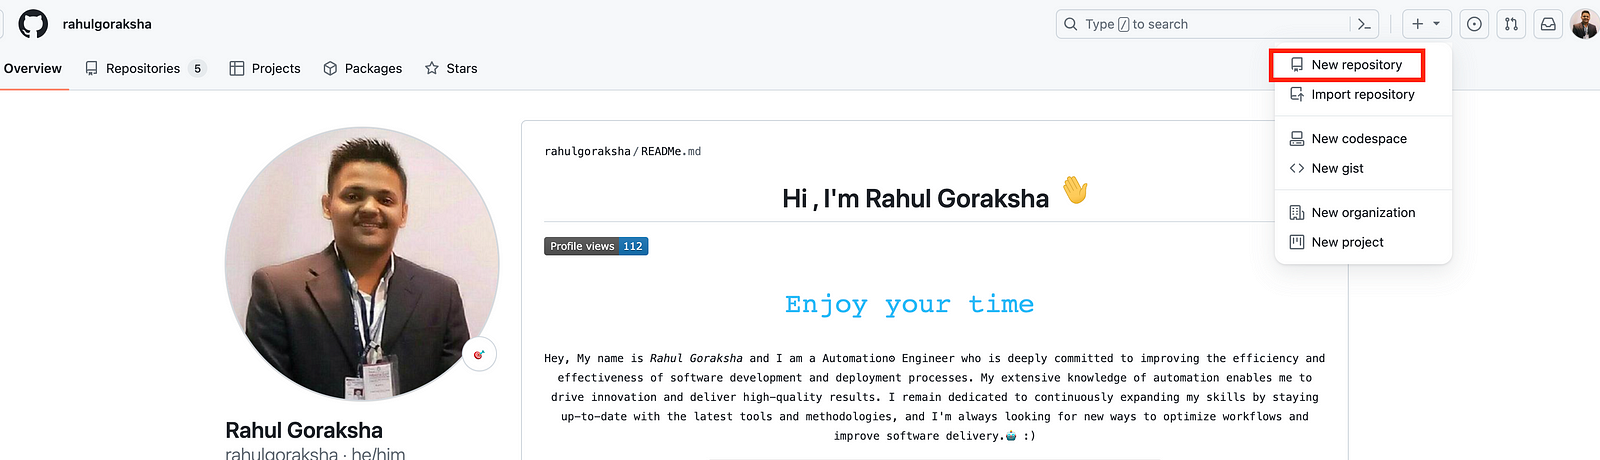
Figure 1: User Interface of Git Hub profile
Once after Selecting New repository will head to create a new repository dialogue box in which will provide name to an git hub repository “practise-repository”. after that directly click on “Create repository”

Figure 2: Dialogue Box for Creating a new repository
finally you will be getting this interface in which you getting an HTTPS link which can be used to clone in your local repository to pull or ush the changes in the master.
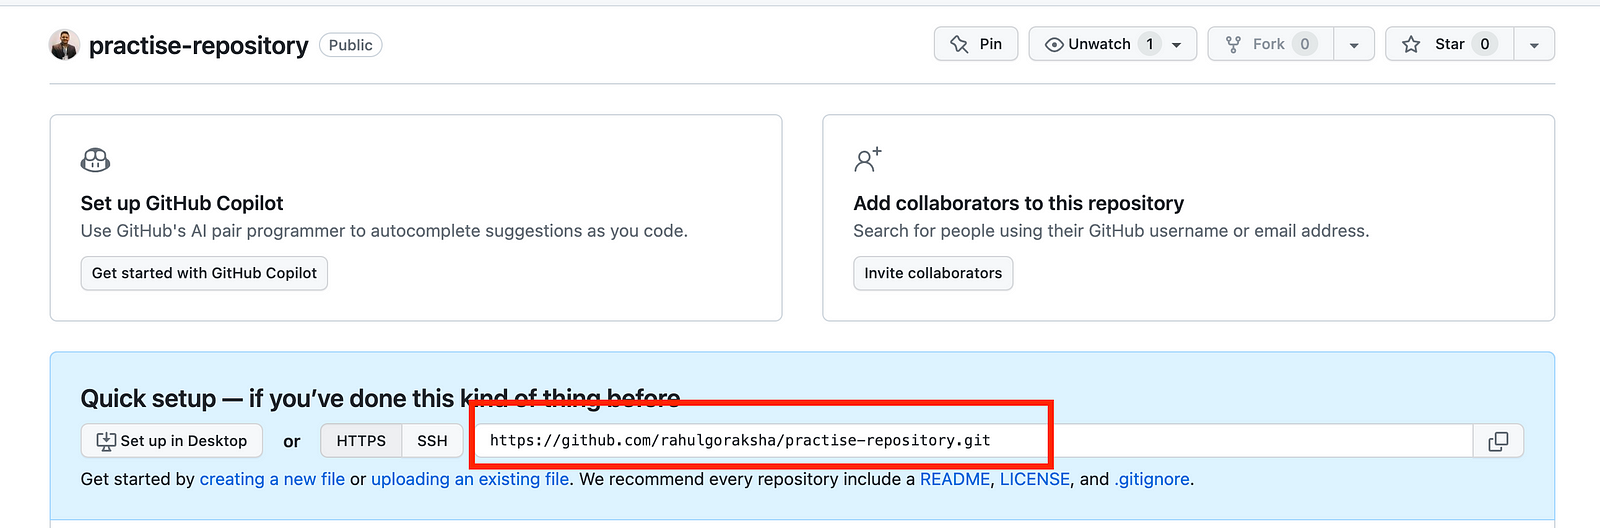
Figure 3: User Interface for HTTPS url of Git repository
Task 2: Make some changes to a file in the repository and commit them to the repository using Git
Solution
Now we will open the “Visual Studio Code” platform to make some changes to a file in the local repository and to be commit them to remote repository using some Git action. So lets start step-by-step
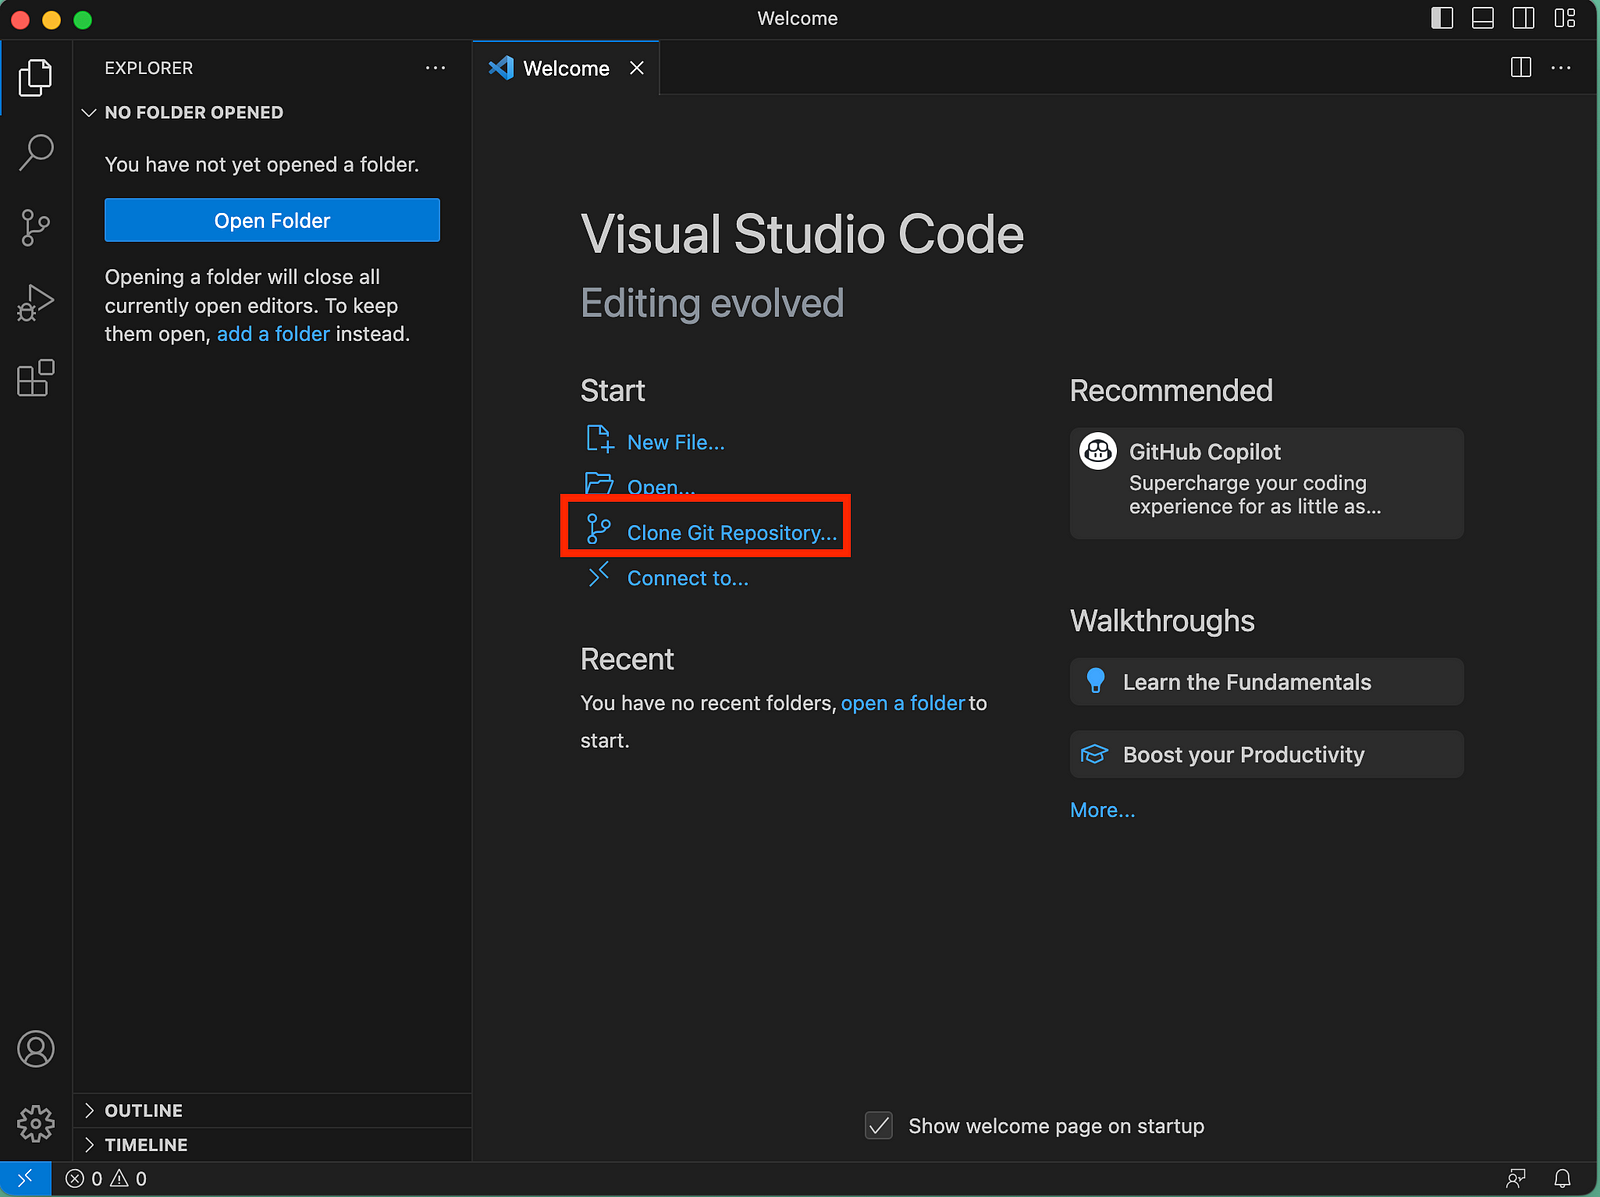
Figure 4: User Interface of Visual Studio
After opening the interface of the Visual Studio Code, we will be clicking on the “Clone Git Repository” option after that in that text box section we will paste the copied HTTPS url link next will choose the created local git folder as shown in the below figure 5

Figure 5: File Explorer Interface
Just open the terminal side in that perform the Git action
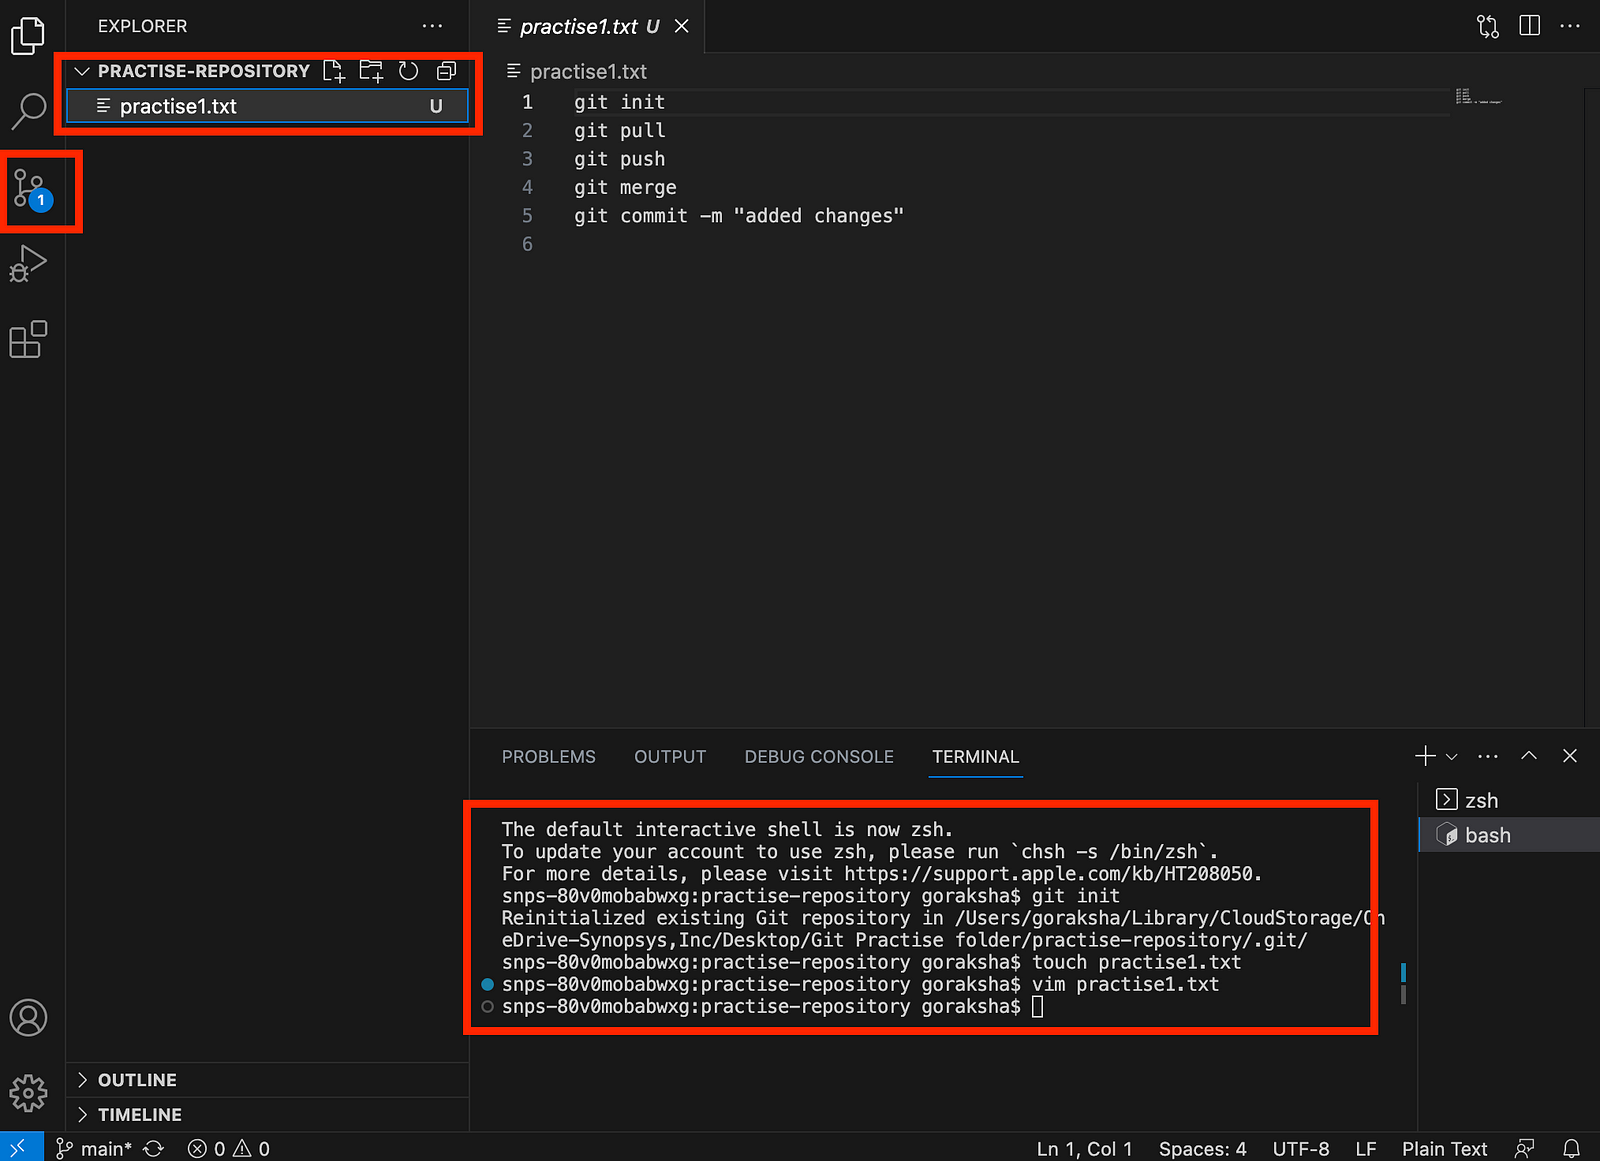
Figure 6: Performing the Git Action in Terminal of Visual Studio
Git init
touch practise1.txt #make the empty file
vim practise1.txt   #edit the changes in the empty file
git config --global user.name "username"
git config --global user.email "emailId"
As you perform the above quoted git action you will see the source control option will get highlighted as 1, so just by clicking it.
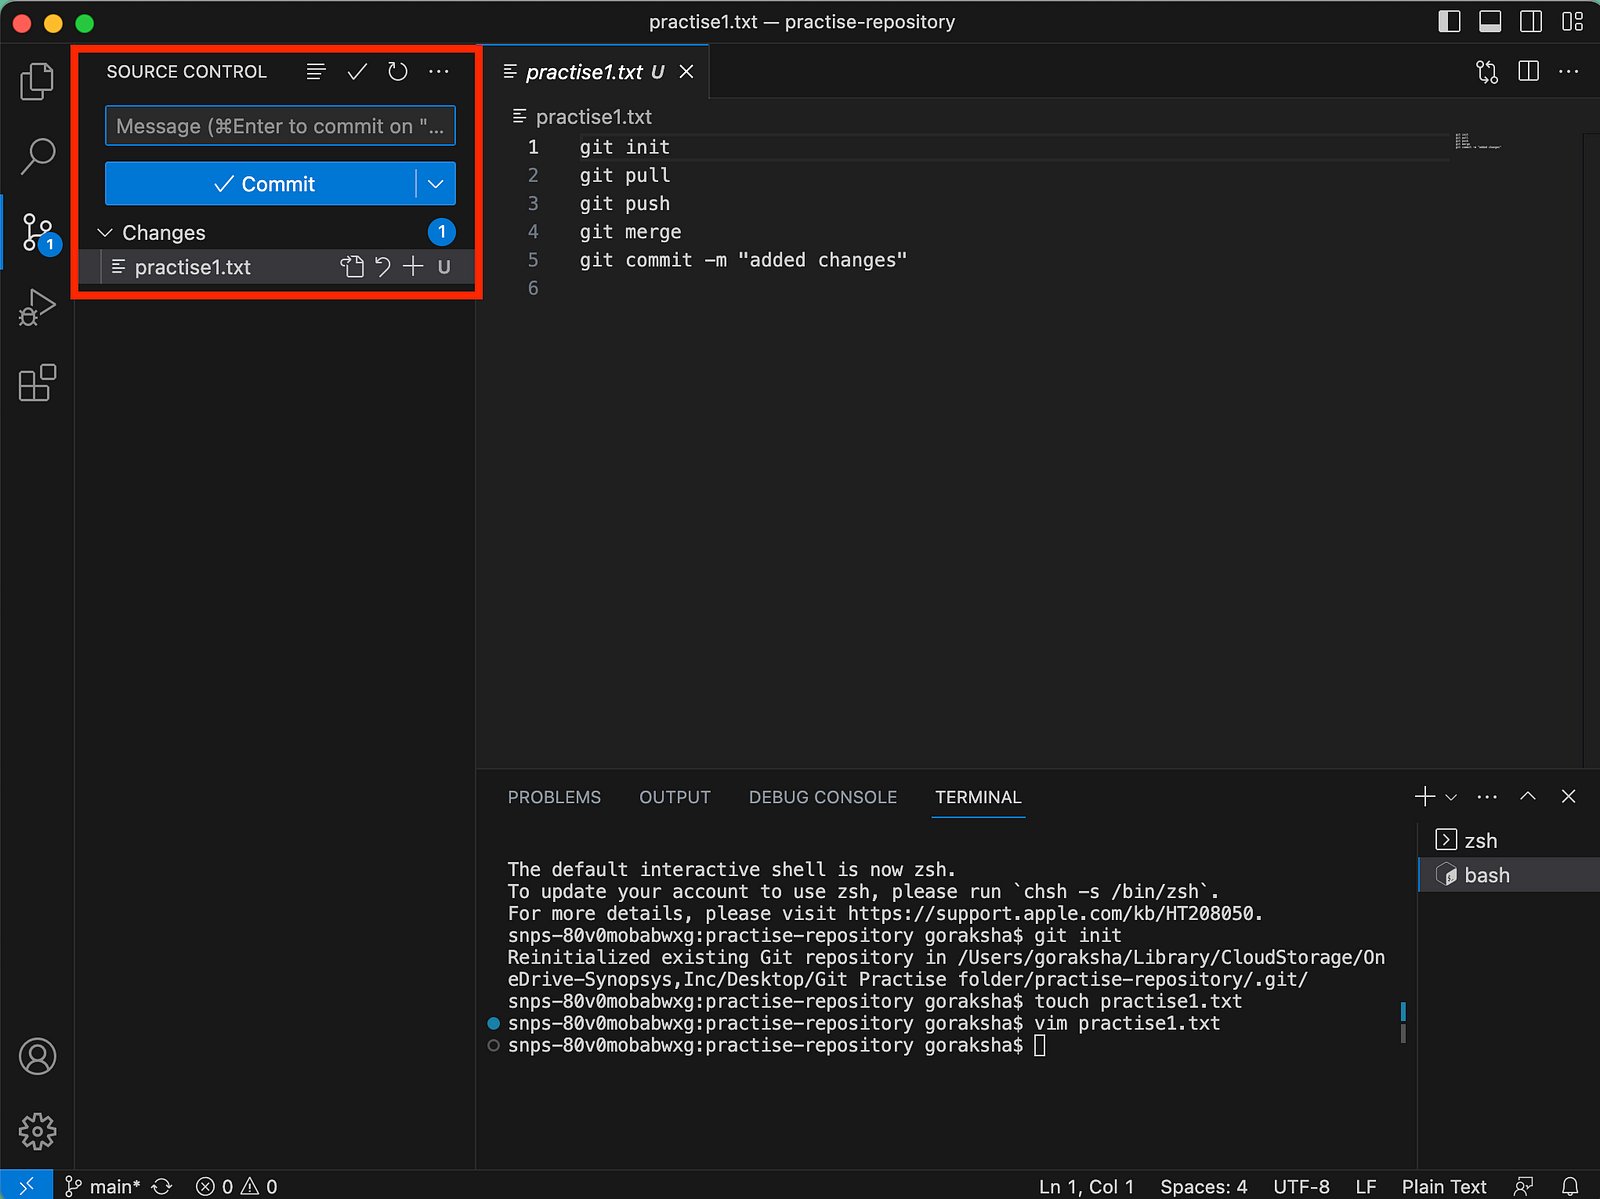
Figure 7: Visual Studio Interface
you will be headed to the commit section but the “practise1.txt” which you have generated been untracked status so to make it on track we need to git add and commit to get the generated file to tracked after that will add the commit message as “Add new changes into the file” than click on commit
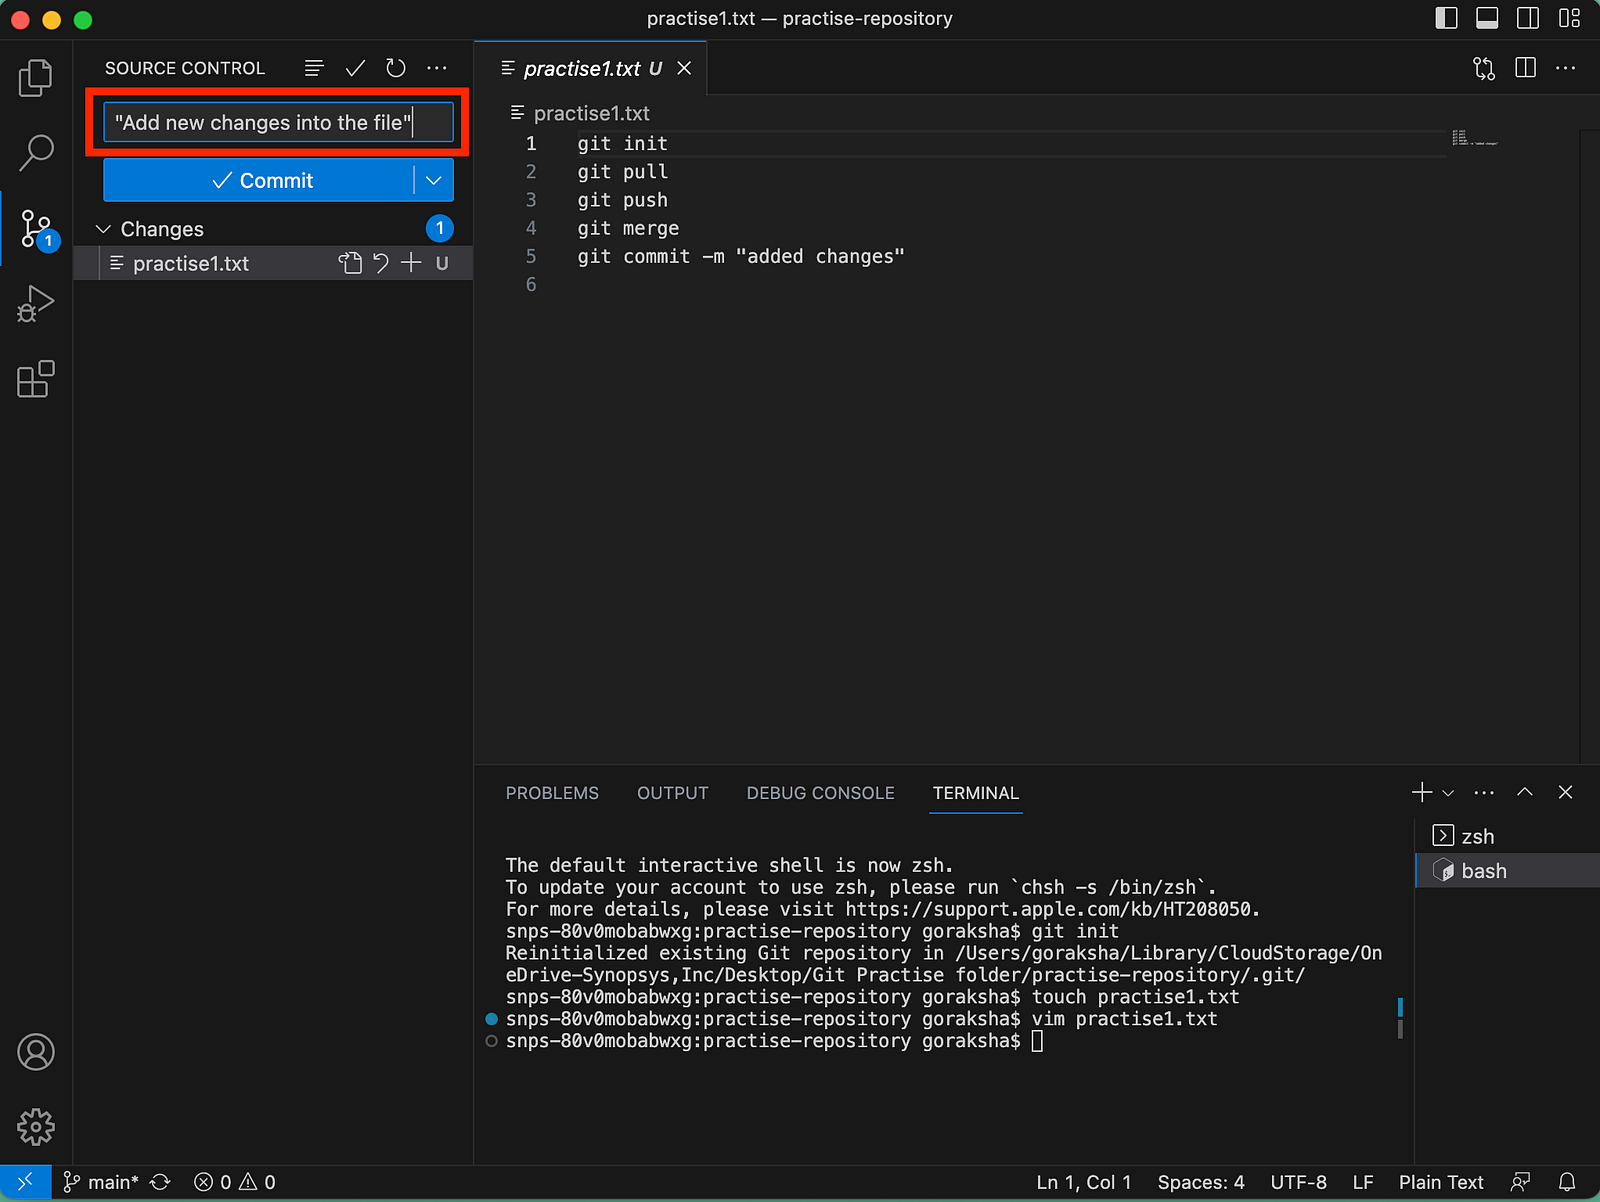
Figure 8: Visual Studio Interface
Task 3: Push the changes back to the repository on GitHub
Solution
Lastly will click on the hanger button in that click on push
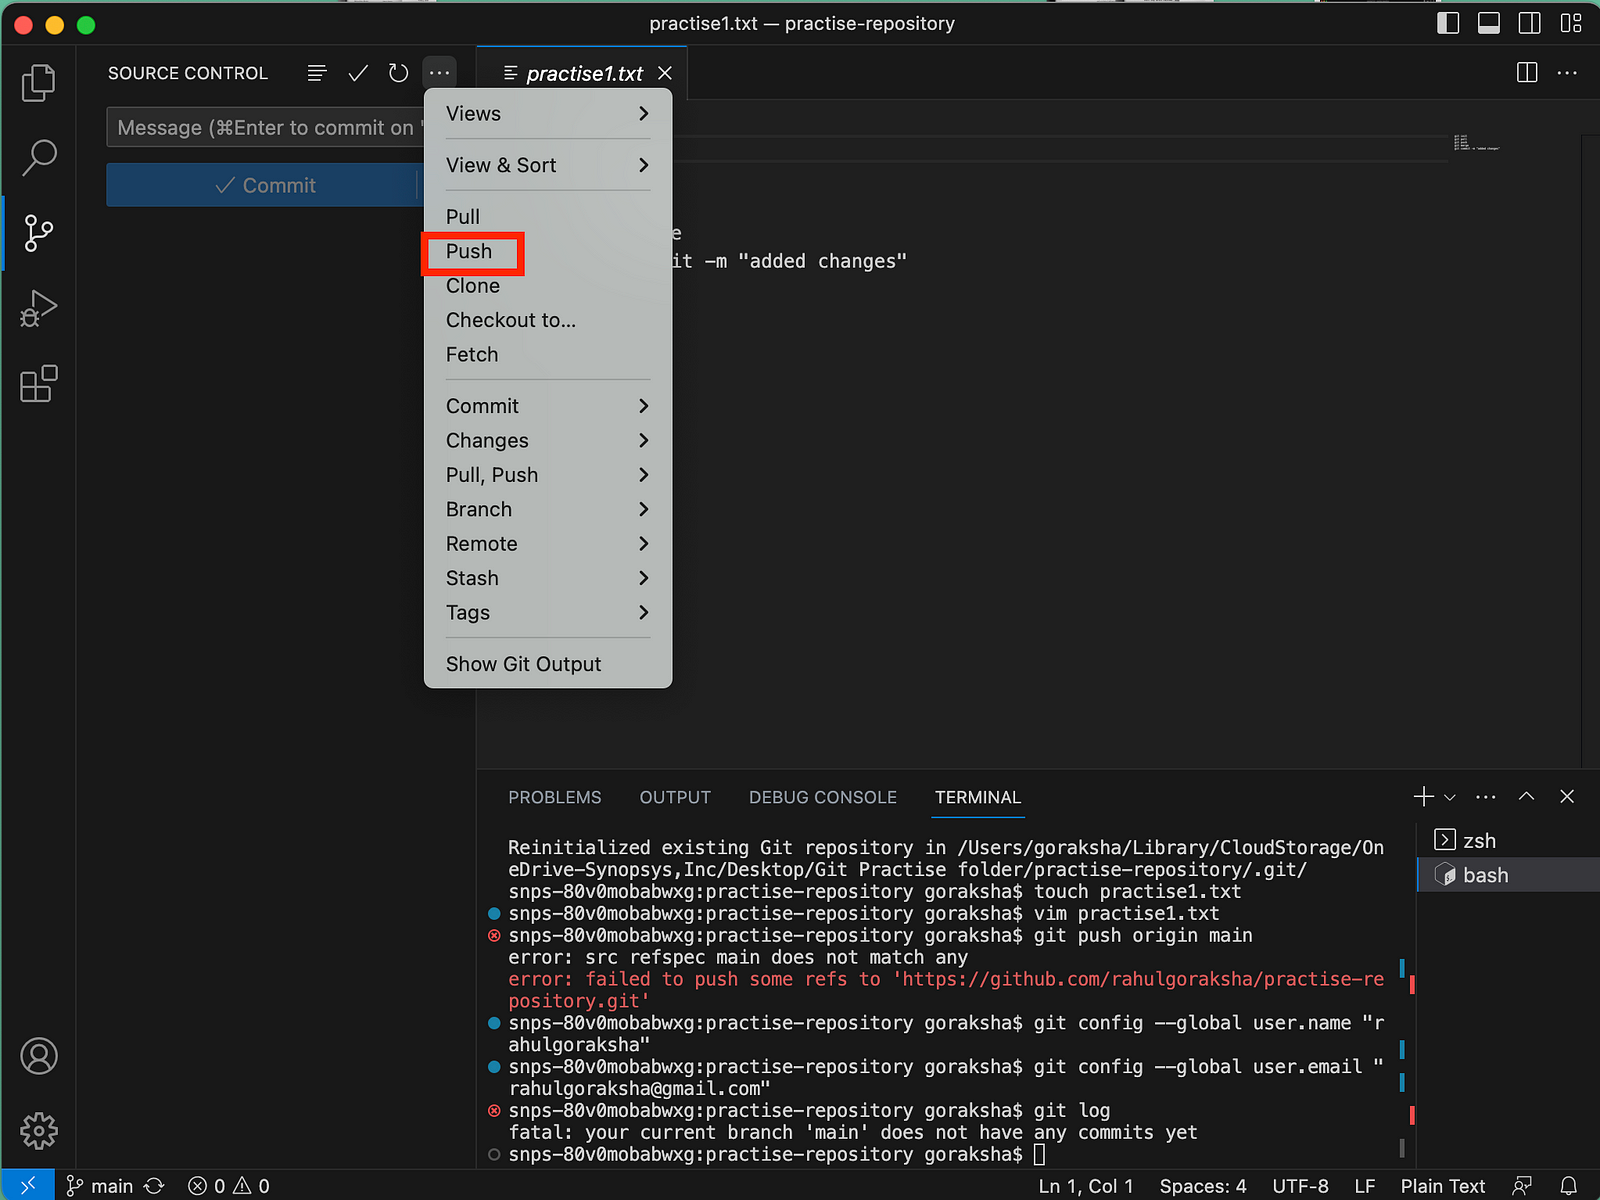
Figure 9: Visual Studio Interface
Finally our created file will get reflected to the remote GitHub repository……….
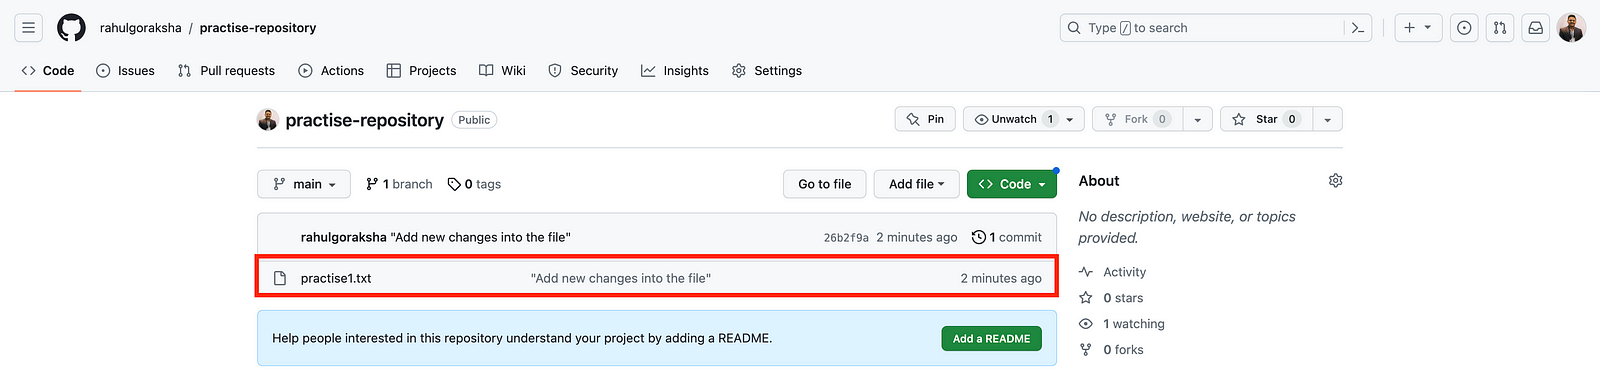
Figure 10: GitHub repository Interface
Thank you for being a part of this adventure once more. I want to connect with you in future blog postings. Continue to be interested, inspired, and evolving.